指定した位置までスクロールすると追従になるヘッダーの作り方を紹介します。
比較的よく使うテクニックなので、覚えておいて損はないと思います。
サンプル
HTML
<header class="header">
  <div class="header-inner">
    <h1 class="site-ttl">サイトタイトル</h1>
    <ul class="header-menu">
      <li><a href="#">メニュー1</a></li>
      <li><a href="#">メニュー2</a></li>
      <li><a href="#">メニュー3</a></li>
      <li><a href="#">メニュー4</a></li>
    </ul>
  </div>
</header>
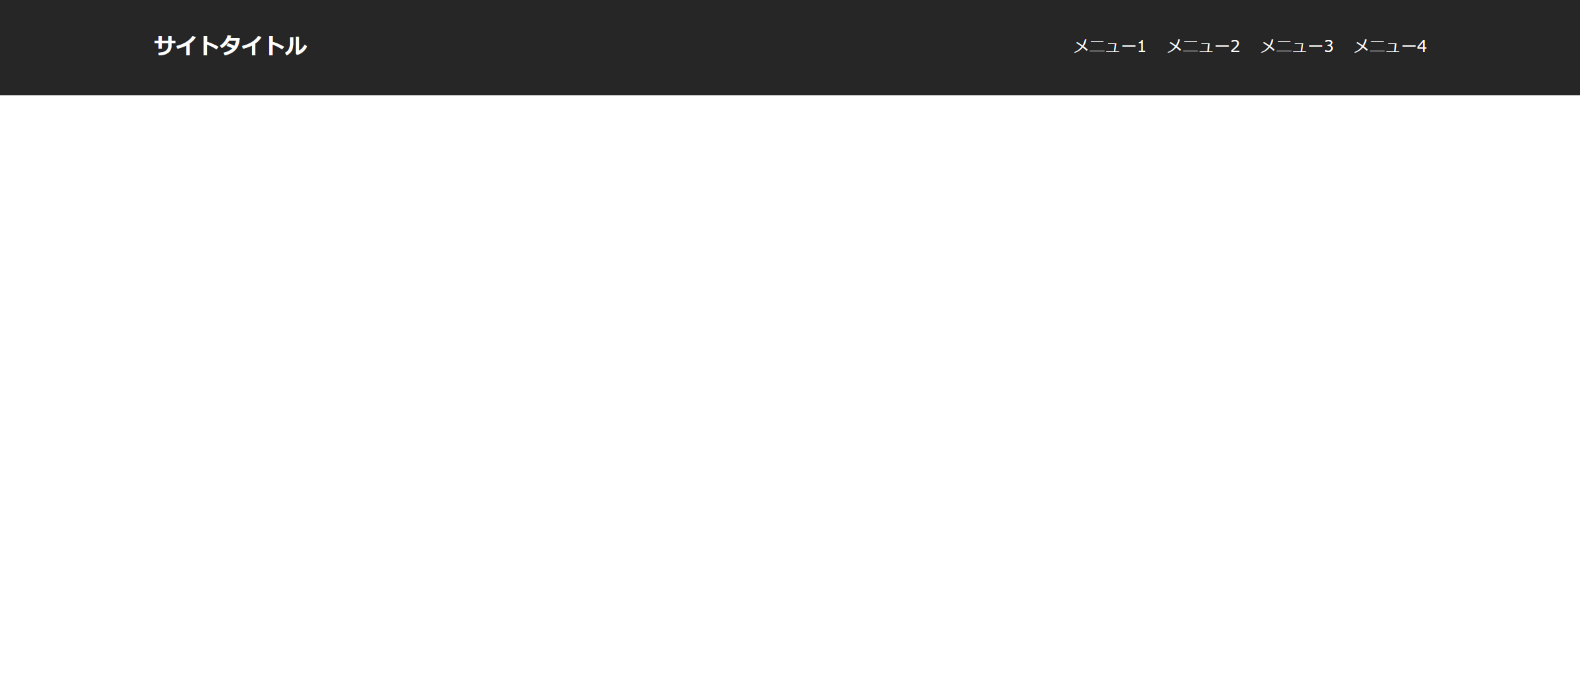
タイトルの横にメニューを並べた一般的なヘッダーです。
ここは基本的に見た目の部分なので自分のサイトに合わせて変更してください。
CSS
.header {
  padding: 30px 20px;
  background: #262626;
}
.header-inner {
  display: flex;
  justify-content: space-between;
  align-items: center;
  max-width: 1280px;
  margin: 0 auto;
}
.site-ttl {
  color: #fff;
  font-size: 22px;
  font-weight: bold;
}
.header-menu {
  display: flex;
}
.header-menu > li + li {
  margin-left: 20px;
}
.header-menu > li > a {
  color: #fff;
}
.header.fixed {
  position: fixed;
  top: 0;
  left: 0;
  width: 100%;
  z-index: 999;
}
前半は基本的に見た目の部分なので、自分好みに調整して使用してください。
26行目~の部分で fixed クラスが付与されたときに追従になるように設定しています。
js
$(window).on("scroll", function() {
  if ($(this).scrollTop() > 1000) {
    $(".header").addClass("fixed");
  } else {
    $(".header").removeClass("fixed");
  }
});
ページをある程度下までスクロールをしたらヘッダーに fixed クラスが付与されます。
ヘッダーに fixed クラスが付与されているときには position: fixed; が効くようにCSSで設定しているので追従します。
上まで戻ったら fixed クラスを外すことで追従を解除しています。


