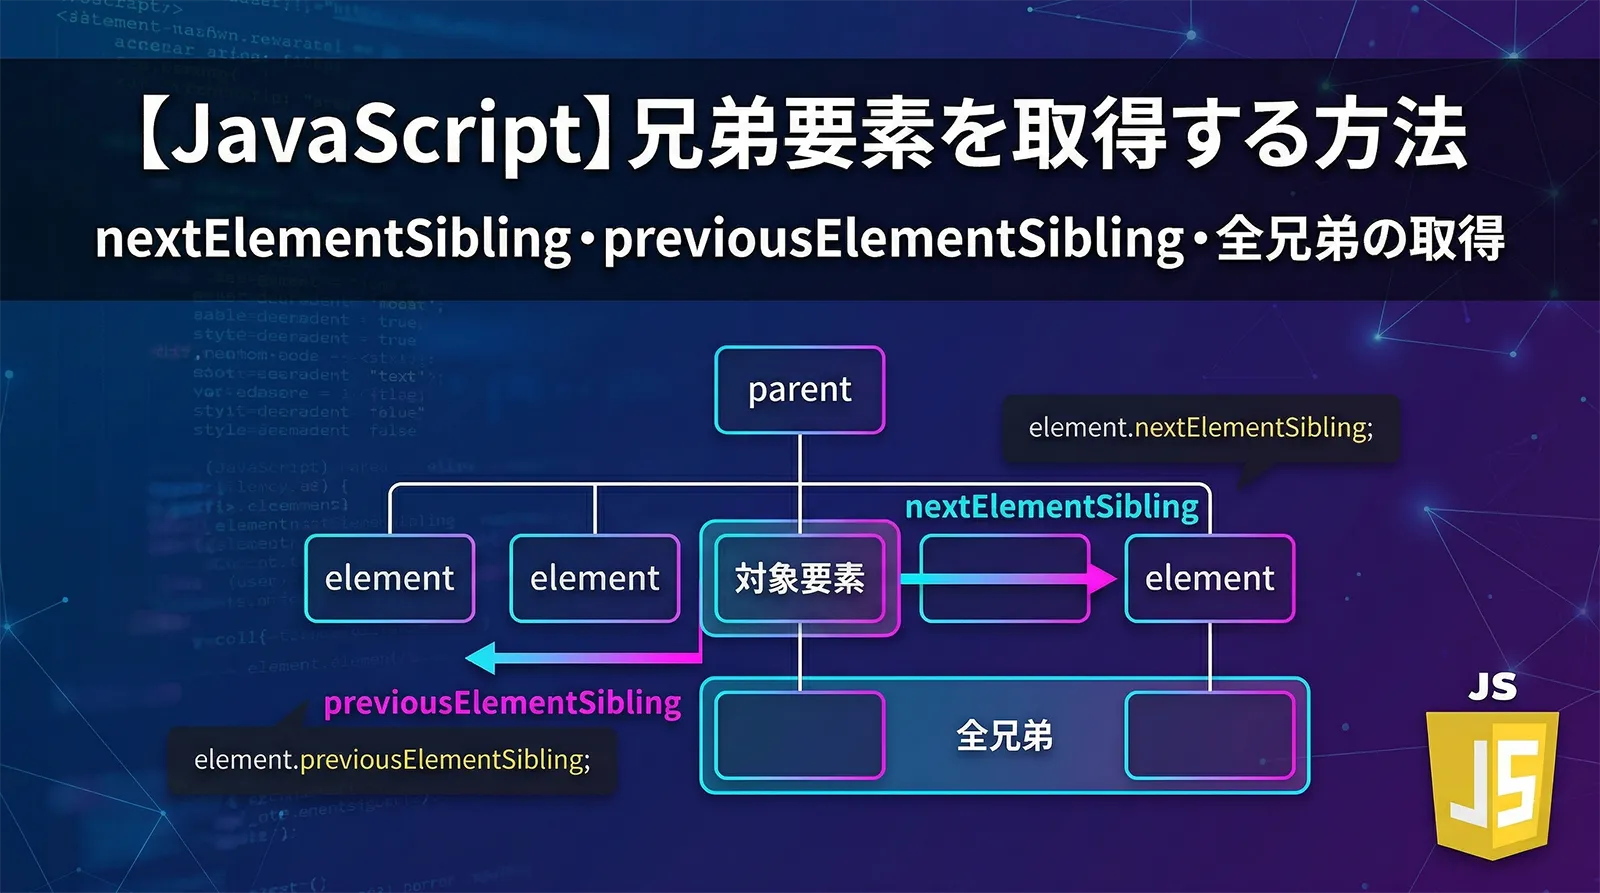
DOM を操作する際、ある要素の次の兄弟や前の兄弟を取得したい場面は頻繁にあります。アコーディオンのヘッダーをクリックして隣のコンテンツを開閉する、テーブルの行をハイライトする、フォームの関連フィールドを連動させるなど、兄弟要素のナビゲーションは実務の基本テクニックです。
この記事でわかること
・nextElementSibling で次の兄弟要素を取得する方法
・previousElementSibling で前の兄弟要素を取得する方法
・nextSibling / previousSibling との違い(テキストノード問題)
・全兄弟要素を取得する方法
・N 個先の兄弟を取得するループパターン
・アコーディオン・テーブル・フォームの実務パターン
・nextElementSibling で次の兄弟要素を取得する方法
・previousElementSibling で前の兄弟要素を取得する方法
・nextSibling / previousSibling との違い(テキストノード問題)
・全兄弟要素を取得する方法
・N 個先の兄弟を取得するループパターン
・アコーディオン・テーブル・フォームの実務パターン
nextElementSibling / previousElementSibling の基本
HTML(サンプル)
<ul>
  <li id="item1">Item 1</li>
  <li id="item2">Item 2</li>
  <li id="item3">Item 3</li>
  <li id="item4">Item 4</li>
</ul>
JavaScript(次・前の兄弟要素)
const item2 = document.getElementById("item2");

// 次の兄弟要素
console.log(item2.nextElementSibling.textContent); // "Item 3"

// 前の兄弟要素
console.log(item2.previousElementSibling.textContent); // "Item 1"

// 最後の要素の次 → null
const item4 = document.getElementById("item4");
console.log(item4.nextElementSibling); // null(次がない)

// 最初の要素の前 → null
const item1 = document.getElementById("item1");
console.log(item1.previousElementSibling); // null(前がない)
| プロパティ | 取得対象 | 該当なし |
|---|---|---|
| nextElementSibling | 次の兄弟要素ノード | null |
| previousElementSibling | 前の兄弟要素ノード | null |
nextSibling / previousSibling との違い
JavaScript(Element 版 vs Node 版)
const item2 = document.getElementById("item2");

// nextElementSibling: 要素ノードのみ(推奨)
console.log(item2.nextElementSibling);      // <li id="item3">Item 3</li>

// nextSibling: テキストノード(改行 + スペース)も含む
console.log(item2.nextSibling);              // #text(改行)
console.log(item2.nextSibling.nextSibling);  // <li id="item3">Item 3</li>
| プロパティ | 返すノード | テキストノード | 推奨 |
|---|---|---|---|
| nextElementSibling | 要素ノードのみ | スキップ | 推奨 |
| nextSibling | 全ノード | 含む(改行・スペース) | 非推奨 |
| previousElementSibling | 要素ノードのみ | スキップ | 推奨 |
| previousSibling | 全ノード | 含む | 非推奨 |
nextSibling はテキストノードを返すことが多い
HTML のインデント(改行 + スペース)はテキストノードとして DOM に含まれます。
HTML のインデント(改行 + スペース)はテキストノードとして DOM に含まれます。
nextSibling だとこのテキストノードが返るため、意図しない動作になります。常に Element 付き(nextElementSibling)を使ってください。全兄弟要素を取得する
JavaScript(全兄弟要素の取得)
// 方法(1): 親の children から自分を除外
function getSiblings(el) {
  return [...el.parentElement.children].filter(child => child !== el);
}

const item2 = document.getElementById("item2");
const siblings = getSiblings(item2);
console.log(siblings.length); // 3(item1, item3, item4)

// 方法(2): 後続の兄弟だけ取得
function getNextSiblings(el) {
  const siblings = [];
  let next = el.nextElementSibling;
  while (next) {
    siblings.push(next);
    next = next.nextElementSibling;
  }
  return siblings;
}

// 方法(3): 前方の兄弟だけ取得
function getPrevSiblings(el) {
  const siblings = [];
  let prev = el.previousElementSibling;
  while (prev) {
    siblings.push(prev);
    prev = prev.previousElementSibling;
  }
  return siblings;
}
全兄弟 = 親の children から自分を除外
[...el.parentElement.children].filter(c => c !== el) が最もシンプルです。前方だけ / 後方だけが必要な場合は while ループで nextElementSibling / previousElementSibling を辿ります。N 個先の兄弟を取得する
JavaScript(N 個先/前の兄弟)
// N 個先の兄弟要素を取得
function getNthSibling(el, n) {
  let current = el;
  for (let i = 0; i < Math.abs(n); i++) {
    if (!current) return null;
    current = n > 0
      ? current.nextElementSibling
      : current.previousElementSibling;
  }
  return current;
}

const item1 = document.getElementById("item1");
console.log(getNthSibling(item1, 2)?.textContent);  // "Item 3"(2 個先)
console.log(getNthSibling(item1, -1));                // null(前がない)
親子・兄弟ナビゲーション一覧
| プロパティ | 取得対象 | 要素のみ |
|---|---|---|
| parentElement | 親要素 | はい |
| children | 全子要素 | はい |
| firstElementChild | 最初の子 | はい |
| lastElementChild | 最後の子 | はい |
| nextElementSibling | 次の兄弟 | はい |
| previousElementSibling | 前の兄弟 | はい |
| closest(“selector”) | 最も近い祖先 | はい(CSS セレクタ) |
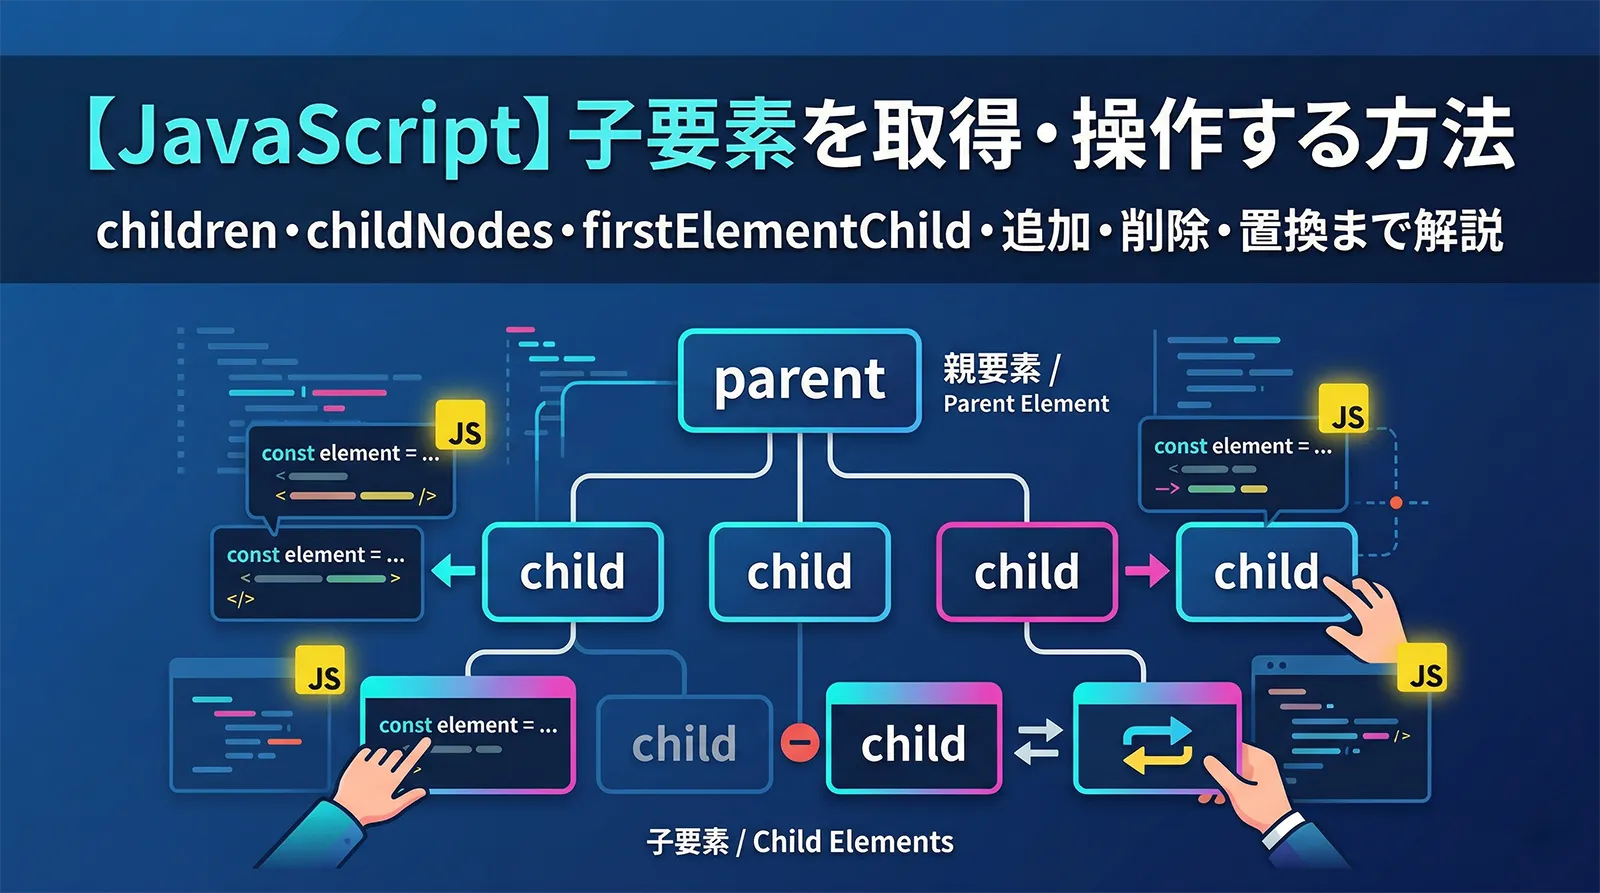
子要素の取得・操作の詳細は「子要素を取得・操作する方法」を参照してください。
実務パターン集
パターン(1): アコーディオンのヘッダーから隣のコンテンツを開閉
JavaScript
// <button class="accordion-header">タイトル</button>
// <div class="accordion-body">内容</div>

document.querySelectorAll(".accordion-header").forEach(header => {
  header.addEventListener("click", () => {
    // 次の兄弟要素(= accordion-body)を開閉
    const body = header.nextElementSibling;
    body.hidden = !body.hidden;
  });
});
パターン(2): テーブルの行クリックで前後の行をハイライト
JavaScript
document.querySelector("table").addEventListener("click", (e) => {
  const row = e.target.closest("tr");
  if (!row) return;

  // 全行のハイライトを解除
  document.querySelectorAll("tr.highlight").forEach(r => r.classList.remove("highlight"));

  // クリックした行と前後の行をハイライト
  row.classList.add("highlight");
  row.previousElementSibling?.classList.add("highlight");
  row.nextElementSibling?.classList.add("highlight");
});
パターン(3): 「次へ」「前へ」ボタンで兄弟要素を順番に表示
JavaScript
let current = document.querySelector(".slide.active");

document.querySelector("#next").addEventListener("click", () => {
  const next = current.nextElementSibling;
  if (next) {
    current.classList.remove("active");
    next.classList.add("active");
    current = next;
  }
});

document.querySelector("#prev").addEventListener("click", () => {
  const prev = current.previousElementSibling;
  if (prev) {
    current.classList.remove("active");
    prev.classList.add("active");
    current = prev;
  }
});
パターン(4): dl 要素で dt をクリックして次の dd を開閉
JavaScript
// <dl>
//   <dt>用語 1</dt>
//   <dd>説明 1</dd>
//   <dt>用語 2</dt>
//   <dd>説明 2</dd>
// </dl>

document.querySelectorAll("dt").forEach(dt => {
  dt.addEventListener("click", () => {
    const dd = dt.nextElementSibling; // 次の dd
    if (dd && dd.tagName === "DD") {
      dd.hidden = !dd.hidden;
    }
  });
});
パターン(5): 兄弟要素から active クラスを解除して自分だけに付与
JavaScript
// タブボタンのクリック
document.querySelectorAll(".tab-btn").forEach(btn => {
  btn.addEventListener("click", () => {
    // 全兄弟から active を解除
    [...btn.parentElement.children].forEach(sibling => {
      sibling.classList.remove("active");
    });
    // 自分だけに active を付与
    btn.classList.add("active");
  });
});
よくある質問
QnextElementSibling が null を返します
A最後の兄弟要素の場合、
nextElementSibling は null を返します。null チェックを行うか、オプショナルチェーニング(el.nextElementSibling?.textContent)を使ってください。QnextSibling が改行テキストを返すのはなぜですか?
AHTML のインデント(改行 + スペース)はテキストノードとして DOM に含まれます。
nextSibling はテキストノードも返すため、意図しない結果になります。nextElementSibling(要素ノードだけを返す)を使ってください。Q特定のセレクタに一致する兄弟要素を見つけるには?
Aループで
nextElementSibling を辿りながら matches() でチェックします。let next = el.nextElementSibling;
while (next && !next.matches(".target")) { next = next.nextElementSibling; }
// next が条件に合う兄弟(見つからなければ null)QjQuery の siblings() に相当するものは?
A
[...el.parentElement.children].filter(c => c !== el) で全兄弟を取得できます。jQuery の next() / prev() は nextElementSibling / previousElementSibling に相当します。QCSS の隣接セレクタ(+)と nextElementSibling は同じですか?
ACSS の
h2 + p は「h2 の直後の p 要素」にスタイルを適用します。JavaScript の h2.nextElementSibling は同じ要素を取得します。CSS だけでスタイルを変えたい場合は隣接セレクタ(+)を使えば JavaScript は不要です。Q兄弟要素を挿入するには?
まとめ
兄弟要素のナビゲーション方法をまとめます。
| やりたいこと | 方法 |
|---|---|
| 次の兄弟要素を取得 | el.nextElementSibling |
| 前の兄弟要素を取得 | el.previousElementSibling |
| 全兄弟を取得 | […el.parentElement.children].filter(c => c !== el) |
| 後続の兄弟を全取得 | while (next = next.nextElementSibling) ループ |
| N 個先の兄弟を取得 | for ループで nextElementSibling を N 回辿る |
| 条件に合う兄弟を探す | while + matches(“selector”) でループ |
| 兄弟の前 / 後に挿入 | el.before(new) / el.after(new) |
| 兄弟の active を排他的に切り替え | […parent.children].forEach(s => s.classList.remove(“active”)) |
子要素の操作は「子要素を取得・操作する方法」、querySelector は「querySelector / querySelectorAll の使い方」も併せて参照してください。